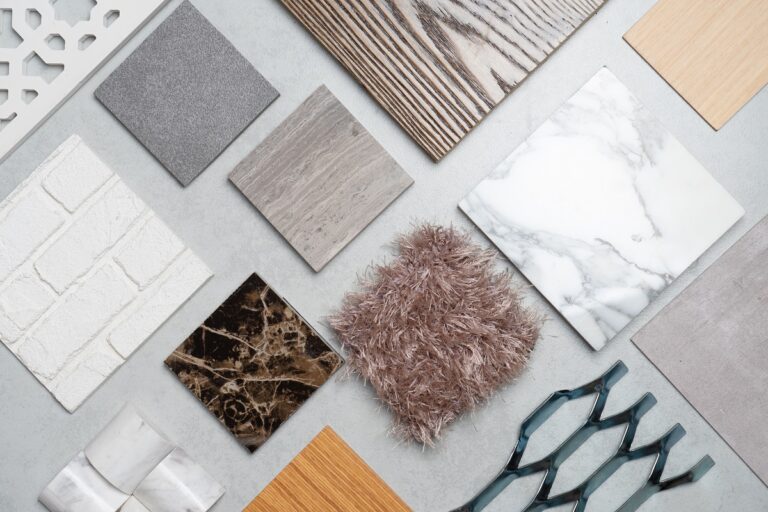
Struggling with keeping your design samples in check? If so, you’re not alone. From paint swatches and fabric samples to stone, tile, and finish materials, the number of physical items interior designers need to keep on hand can make organization feel overwhelming. But don’t worry, we’re here to help.
This guide offers five practical strategies for streamlining your material library, including physical storage systems, digital tracking, and portable kits for client meetings. With clear methods for labeling, sorting, and storing each material type, you’ll spend less time searching and more time designing. You can pair your physical sample system with a digital platform like DesignFiles to track materials, link them to projects, and create client-ready presentations—without the mess.
Let’s dive into the tools and tips that will help improve not only your client presentations, but your overall workflow (and let’s be real, sanity!).
Table of Contents
5 ways to organize interior design materials
When it comes to organizing design materials, your options are endless. Here are a few of our favorite tips to help you identify the methods that will work best for you. As you weigh your options, the most important consideration is to only implement methods that are realistic and sustainable for you in the long term (no backsliding!)
1. Create dedicated binders and bins for material organization
Invest in a set of binders and bins to store materials by type. This helps you easily find what you need at a glance, ensuring that all your samples are neatly categorized and accessible.
Advantages of Binders:
- Quick to browse: Easily flip through pages to find the perfect sample.
- Perfect for flat materials: Store hundreds of small, flat samples like fabric swatches, color chips, and wallpaper samples.
- Compact and tidy: Stack neatly on bookshelves, keeping everything in order and ready for showings or meetings.
Advantages of Bins:
- Ideal for 3D items: Perfect for storing tile swatches, light switch covers, or furniture pieces.
- Great for larger collections: Store bulkier materials without increasing clutter.
- Clear sides for easy viewing: The transparent sides allow you to see the contents without opening or reading labels, saving time.
We recommend using a mix of both binders and bins. Since you’ll need to regularly pull these materials out for client presentations, it’s important that they look professional. You don’t need to spend a lot, but investing in cohesive, durable binders and bins that match your aesthetic will create a polished look while standing up to frequent use.
2. Implement a digital organization system
Instead of juggling spreadsheets and folders, use a system like DesignFiles to upload material images, categorize with tags and project labels, and create shareable design boards.
You can also save vendor/client info, product pricing, and all other relevant product details and images in one place. Store samples digitally with the Product Clipper then drag and drop them into your presentations with links and notes for clients to review, approve, or request changes.
Here are some creative ways to enhance your digital organization:
- Take photos of each sample to upload into your system for quick access.
- Create project-specific folders to easily share digital project materials with clients.
For more help with the digital side of your design business, check out our guide to project management tools.
3. Create a dedicated project bin for each client
Set aside a few empty boxes for active projects. Dedicate one to each ongoing design, using it to store paint swatches, flooring samples, fabric cuttings, and any other key materials. This organization hack will make it easy to reference selections, finalize details, and place orders without scrambling to find lost samples. Be sure to label each box clearly with the client’s name and project details. For example, if you’re working on a coastal-inspired primary bedroom for the Harris family, label their bin “Harris Primary – Coastal” so it’s easy to identify at a glance. Use removable labels so you can easily repurpose bins for easy reference.
4. Prioritize labeling and clear pricing
Ensure all materials are clearly labeled before storing them in bins or binders. Without labels, it will be challenging to identify samples or remember where they came from during client meetings.
Additionally, you may want to consider labeling each sample with its price before adding it to your material library. This not only helps you stay organized but also makes it easier to present options that align with your clients’ budgets. DesignFiles lets you track product pricing and either show or hide details in client views.
5. Streamline clean up with the help of a “return bin”
During client meetings, you’ll likely sift through multiple materials that don’t make the final cut. Instead of re-cataloging them on the spot or leaving a mess to deal with later, designate a “return bin.” This empty bin provides a convenient place to temporarily store unused samples and materials until you have time to return them to their designated spots. It helps maintain an organized workspace and ensures nothing gets misplaced.
Tips for materials
Now that you’ve established your organization system, let’s focus on some of the key materials you most likely have in your library and how to store them effectively.
Paint swatches
- Categorize by color or undertone: Sort swatches into categories so they’re easy to find. Create collections of warm neutrals, cool neutrals, pastels, and bold colors.
- Use a ring system for individual swatches: Hole-punch individual swatches and organize them on binder rings by color family or brand. This keeps them compact and easy to flip through while allowing you to remove or rearrange swatches as needed.
- Store in labeled binders: Use clear sheet protectors or business card sleeves in binders to store swatches neatly. Label each binder by color category (neutrals, warm tones, cool tones) or by brand.
- Use an accordion folder or index card box: The built-in dividers make it easy to sort swatches by color or finish. This method keeps the samples compact while still allowing for easy browsing.
- Make a go-to swatch kit: Create a small, portable selection of your most-used or favorite paint swatches to bring to client meetings, so you don’t have to deal with large boxes and binders.
Fabric samples
- Categorize by color, texture, and use: Organize fabrics into categories like neutrals, warm tones, cool tones, patterns, and various textures. Separate upholstery, drapery, and decorative fabrics.
- Use labeled binders for small samples: Store smaller fabric samples in clear sheet protectors or business card sleeves inside binders. Label each binder by fabric type (e.g., linen, velvet, performance fabrics) or by color family for easy reference.
- Hang larger samples on a rack: Use a clothing rack with hangers or clip rings to display larger fabric samples. This allows for easy browsing and ensures fabrics stay wrinkle-free.
- Store in labeled bins or drawers: Fold and store fabric swatches in clear bins or labeled drawers to keep them protected yet accessible. Use dividers to separate by fabric type, brand, or client project.
- Make a portable swatch kit: Maintain a curated selection of your go-to fabrics in a compact carrying case for client meetings, just like you do for your favorite paint swatches.
Flooring and stone samples
- Store large samples on shelves: Store hardwood, tile, and vinyl plank samples vertically on open shelves to keep them visible and easy to pull out. Organize by material type, color family, or brand.
- Keep small samples in labeled bins or drawers: Use clear bins or labeled drawers to store smaller flooring samples. Separate by material (wood, tile, laminate, etc.).
- Hang rug and carpet samples: Use clip hangers or a pegboard to hang larger flooring swatches, making it easy to flip through the options. Organize by color, pattern, or material.
Finish samples (metal, wood, glass, etc.):
- Store samples in binders and bins: Just like other sample types, store smaller finish pieces (like metal or laminate chips) in binders with clear pocket sleeves. Use clear, labeled bins for all larger items.
- Create categories that make samples easy to find: Start by labeling by material type. Then, sort by finish. For example, your metal finishes bin would be further organized by brushed nickel, matte black, polished brass, etc.
- Keep a curated selection for client meetings: Have a portable case filled with your most commonly used finishes for on-the-go presentations.
Other materials
- Keep catalogues for hard-to-display items: Furniture, lighting, and smart home features can be challenging to store and display due to their size and variety. Instead of trying to keep physical samples for everything, maintain a well-organized collection of catalogs from your favorite vendors. These catalogs allow clients to browse options easily without overwhelming your workspace.
- Create a reference binder: For frequently recommended pieces, consider printing high-quality images and adding them to a binder to share with clients.
Frequently asked questions about organizing design materials
You don’t need a dedicated closet to create a well-organized material library. Samples can be neatly stored on shelves in your office or even in another designated area of your home. The key is keeping them accessible while maintaining an organized system that works for you.
No, clients don’t need direct access to your entire material library. Instead, consider providing them with access to a well-organized digital library. You can then bring samples of their top choices to planning meetings to finalize their selections.
For more advice on managing client expectations, check out our interior design business guide.
2025 has been filled with a mix of nostalgic and contemporary styles. We’re seeing a lot of warm earth tones and sustainable materials like reclaimed wood and natural stone. Learn more about 2025’s top interior design styles.
Organize and present materials with DesignFiles
Ditch the binders—DesignFiles lets you build digital swatch kits, store product images and pricing, and categorize materials by client or room. Speed up your presentation workflow with moodboards, visual spec sheets, and invoices—all created from saved materials. Test colors in real time from Benjamin Moore, Dulux, Farrow & Ball, and Sherwin Williams, while keeping everything client-ready. Sign up for DesignFiles free today.


